Skip to content
Home
News
Events
Production Services
Our Team
Merch
Contact Us
Twitter
Discord
Twitch
Youtube
Facebook
Instagram
$
0.00
0
Cart
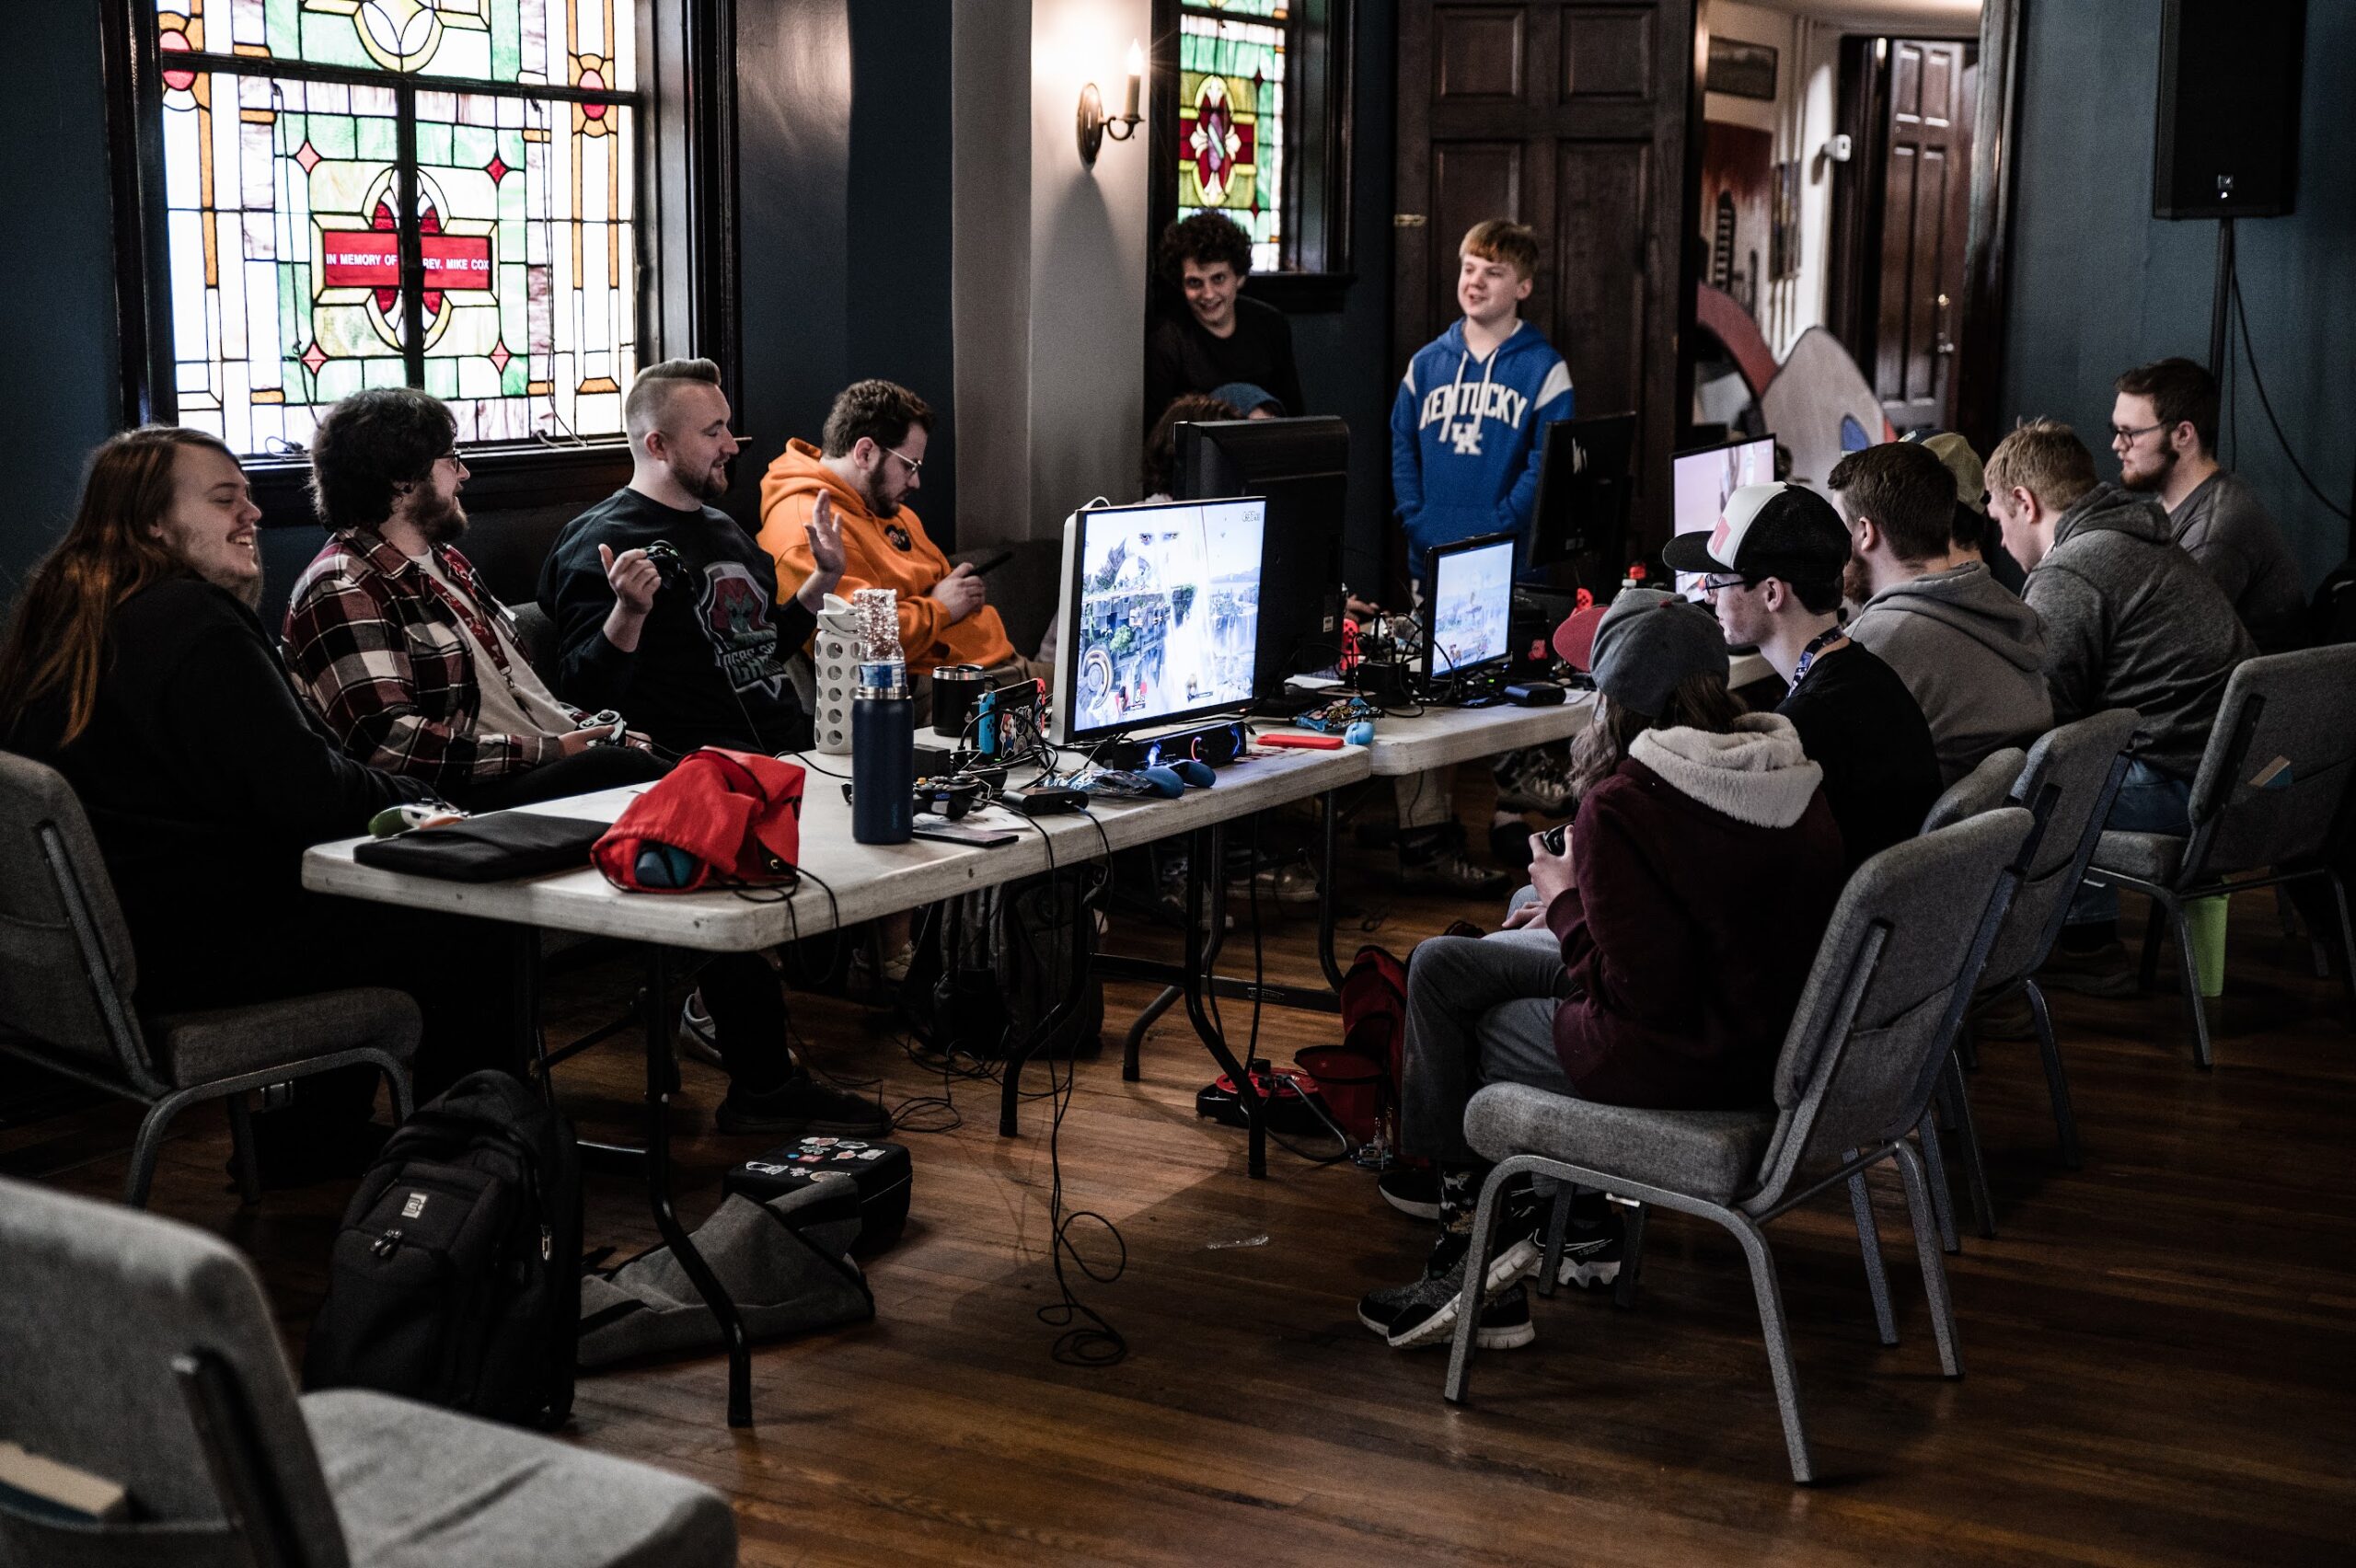
QCS: Homecoming Photo Gallery
staging_2e1pov
January 14, 2023
No Comments
SHARE ON SOCIAL MEDIA:
All photos courtesy of
David Logsdon Photography
.
[foogallery id=”237″]